Crystal Claro Clouds

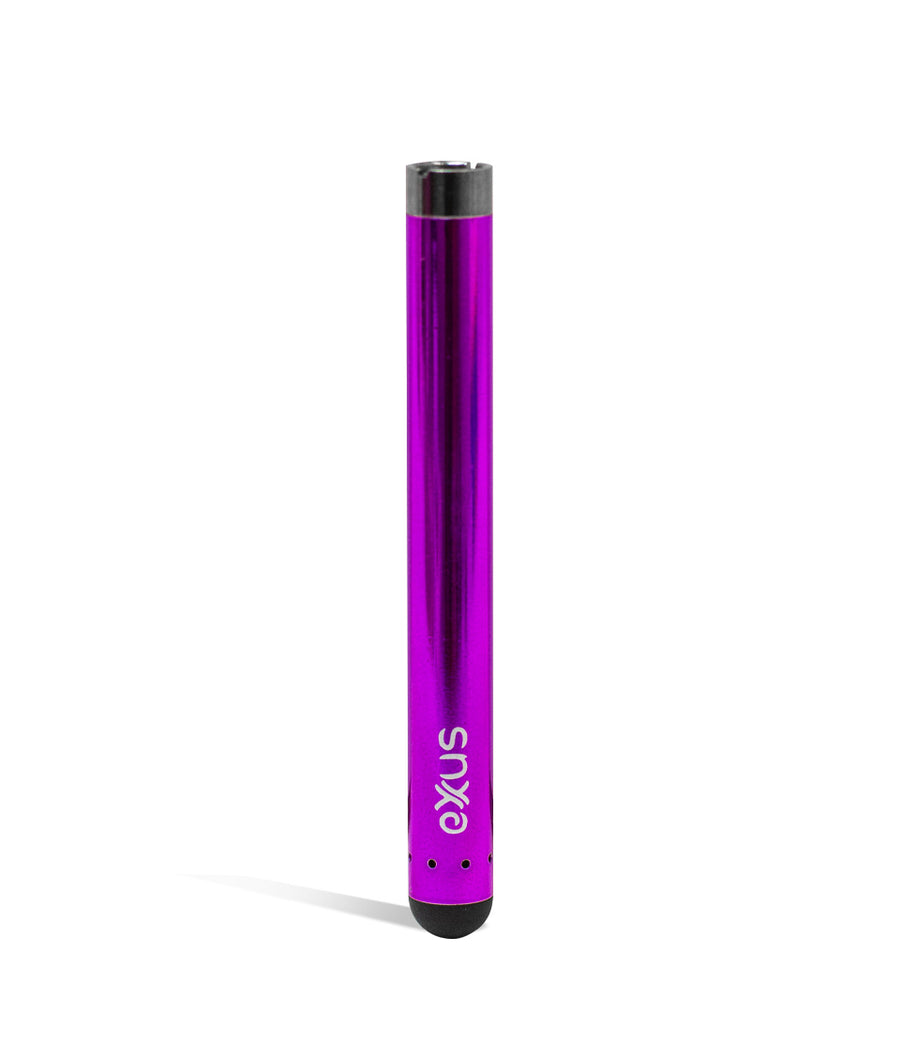
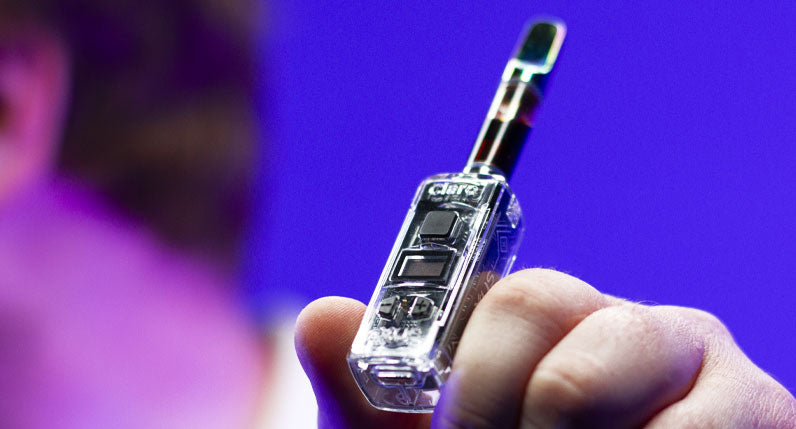
The Exxus Claro Cartridge Vaporizer is here to give you all the best next generation tech housed within an incredibly convenient miniature size. Standing at just two inches tall the Claro still manages to have a 400mAh battery, OLED display, and a convenient 10 second preheat function. Not only that but the Claro features variable voltage settings from 1.8 to 4.2v to let you dial your heat up or down with convenient plus and minus buttons built into the vapes body. With an awesome see-through design you can see all the inner workings of your Exxus while still choosing between 6 different colors including red, blue, and purple.
Using the Device
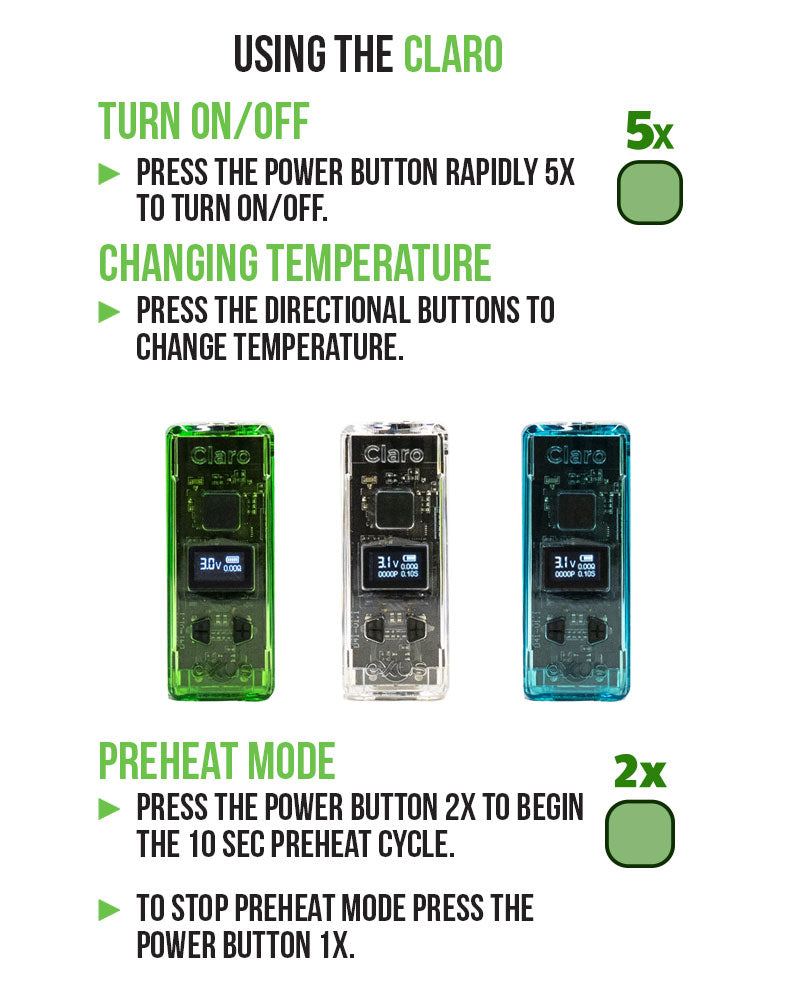
To begin your Claro cloud blowing adventures simply press the large square power button above the OLED screen 5 times in rapid succession. Once done correctly your screen will display the Exxus logo before bringing you to your home base screen that displays your current voltage, battery level, puff counter, last hit duration, and current atomizer ohm level.
Your puff counter works as you would assume, it counts each time you take a hit to provide accurate session info with no extra work on your part. Your other home screen info includes an ohm reading of your current cartridge and a convenient “last hit timer” to allow for precision dosing.
To turn off your Claro press the same power button five times again, once successfully done your OLED will display a message saying “Take care” before going dark which is when you know that your Claro is 100% powered off.
Adjusting Your Temperature
To adjust your voltage level simply press either the “+ or -” buttons to bring up the adjustment screen, you will notice your level displayed here in large font. Once here press the plus or minus buttons and watch as your voltage adjusts to your desired setting. The Claro has a wide range of temperature options thanks to its range of 1.8 to 4.2v in order to let you experiment with your cartridges to find the perfect voltage for each and everyone of them. After finding the correct temperature just wait a moment for the main screen to return and then start hitting your Claro.
To draw from your Claro Vaporizer just hold down the power button and inhale from your cartridge's mouthpiece to start enjoying its powerful cloud blowing abilities. Make sure to try a small hit to start to check if you have the correct voltage setting, this avoids getting a lame duck hit or having one that leaves you in a coughing fit. Additionally if you look closely at your screen the number underneath the ohms (Ω) rating will tell you the exact time of your last hit in order to track dosage and consumption levels accurately if needed.
Pre-Heating Your Claro
For your cloud blowing convenience the Claro comes with an incredibly useful ten second pre-heat function that gets your cartridge all revved up and ready to go. To activate this mode tap your power button 2 times in quick succession. If done correctly you will notice your OLED screen will start a 10 second count down and read “Pre-heating”. Now you wait for the timer to countdown from 10 and then proceed to hold down the ignition button and inhale to get absolutely blasted by an incredibly dense hit in seconds. Once you're done hitting the Claro is back to normal so decide if you would like to preheat again or just continue ripping as normal!
The preheat function truly is a game changer as it allows you to get hits more potent than ever and really let your cartridges oil get the chance to sing. A potent force multiplier for your Claro that lets you use your vaporizer in more ways than one and lets you have a device for all types of sessions.
Loading the Device
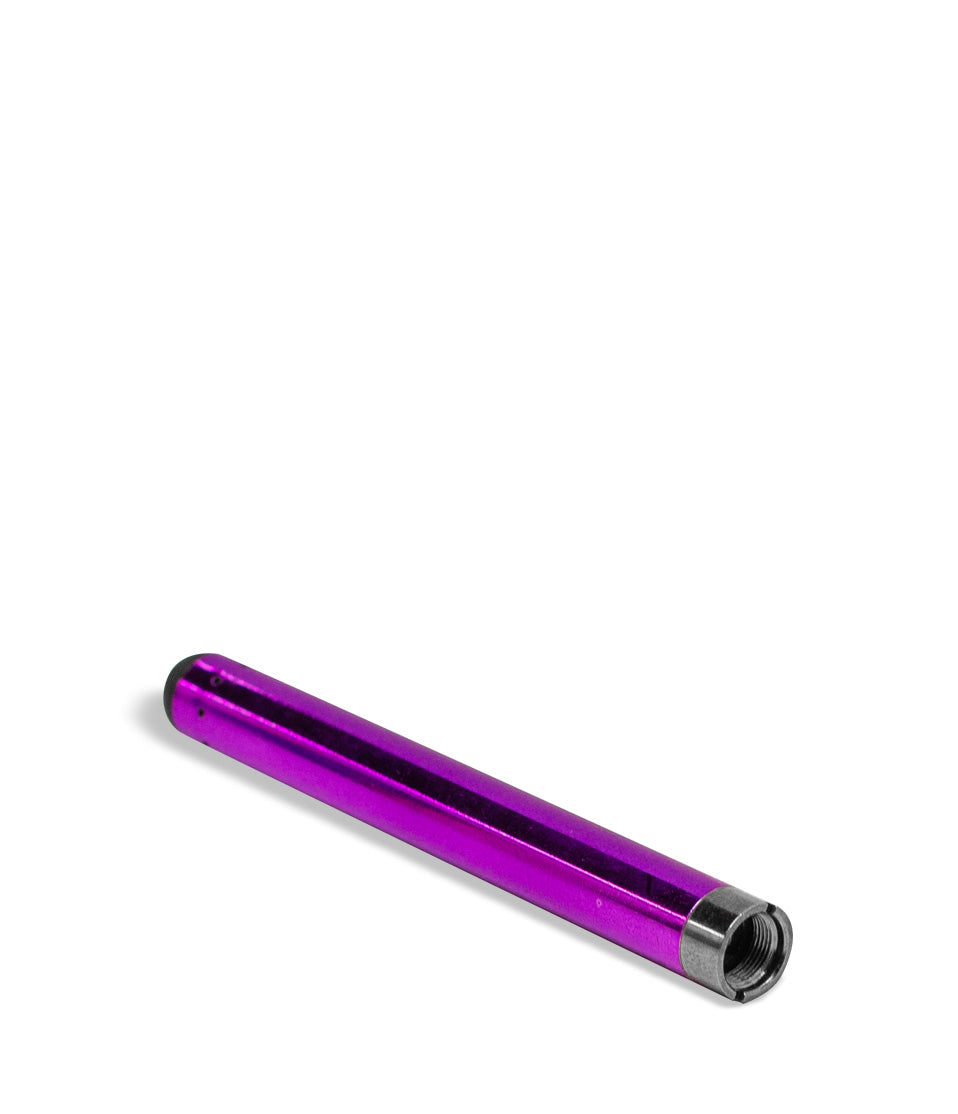
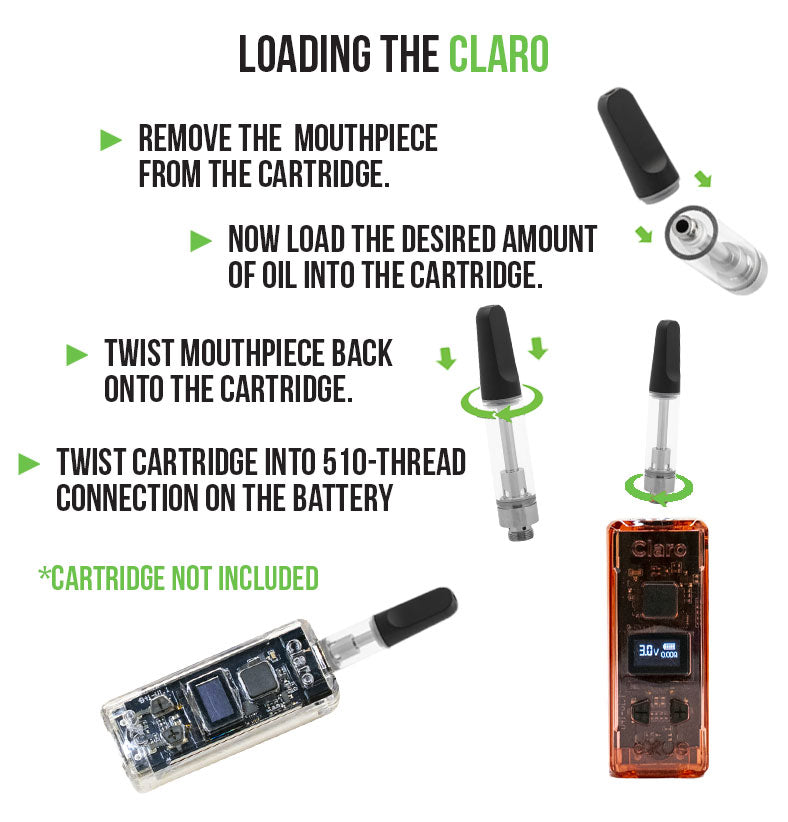
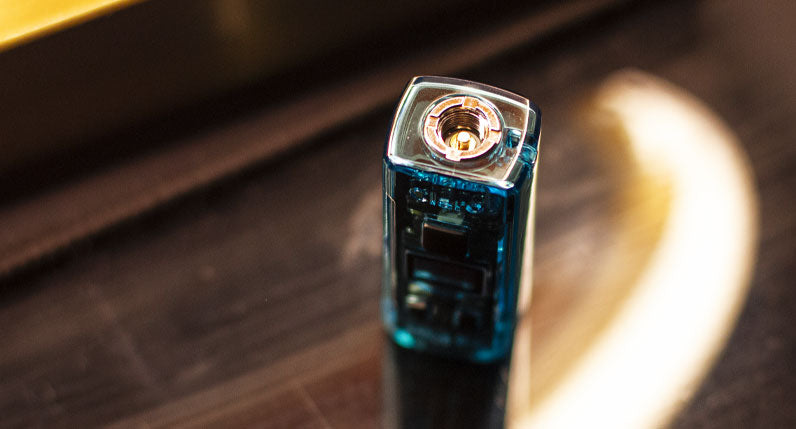
Loading your cartridge into the Claro is as easy as can be thanks to its inclusion of a universal 510 threaded connection system to allow your vape to connect with as many different brands of cartridges as possible. Get a solid grip on your Claro before taking your desired cartridge and gently screwing it into the threaded opening. Once the cartridge stops spinning it is good to go, no need to wrench on it for a tighter connection; the Claro is designed to make sure your carts are locked in tight. When you wish to remove your cartridge just power down your Claro and slowly unscrew it from the battery body before placing it in your desired storage spot.
If you attempt to use your Claro without a cartridge in you will get a helpful message on your OLED screen informing you of such that reads “NO ATOMIZER”. If you see this, then make sure your cart is safely secured on top before attempting to go any further.
Charging the Device
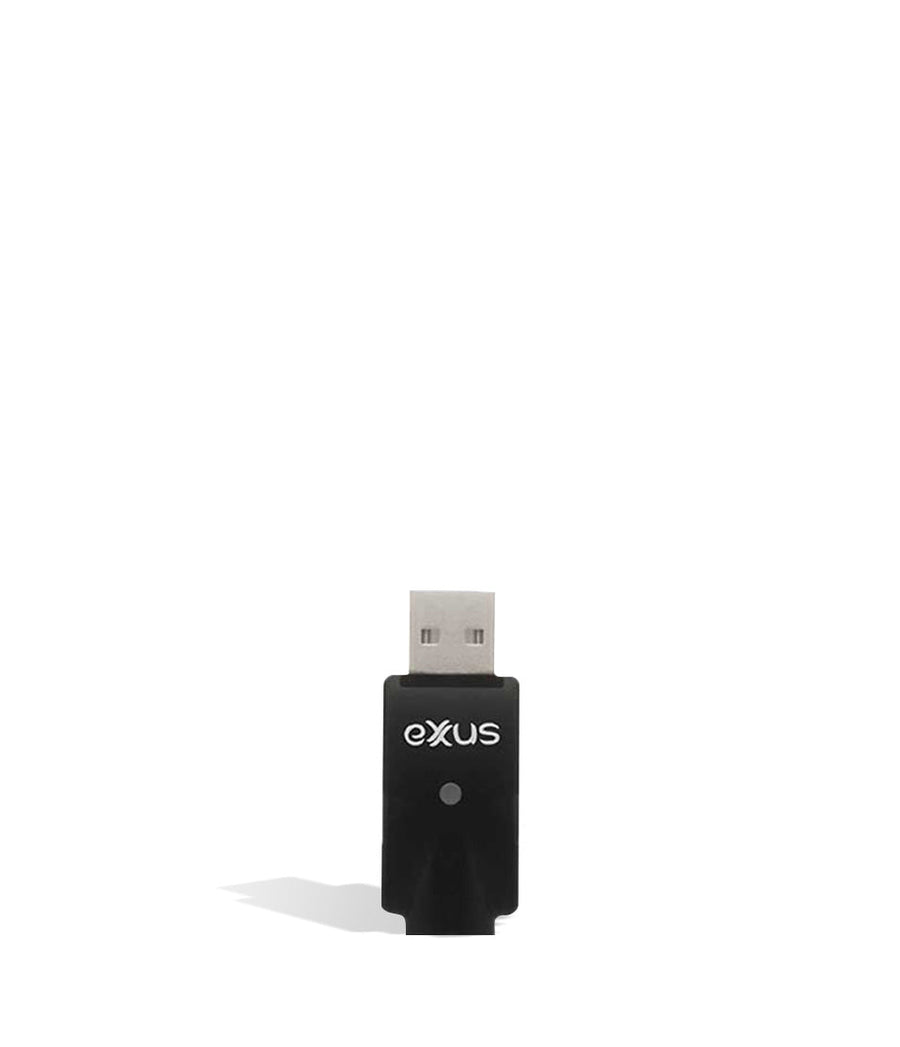
To charge your Claro make use of its included USB-C port and connect it with a compatible cable. Once plugged into a power source correctly your OLED display will show a battery bar that will flash to let you know it is still charging while also letting you know what your current battery level is at. For your first charge make sure to leave it plugged in for a full 2 hours but from then on make sure you never charge your Claro for more than an hour as it could cause issues with the batteries life span. As an added notice never charge your Claro Vaporizer in your car or in any power bank that runs on 5v or higher, doing this risks battery damage and other collateral issues.
Troubleshooting
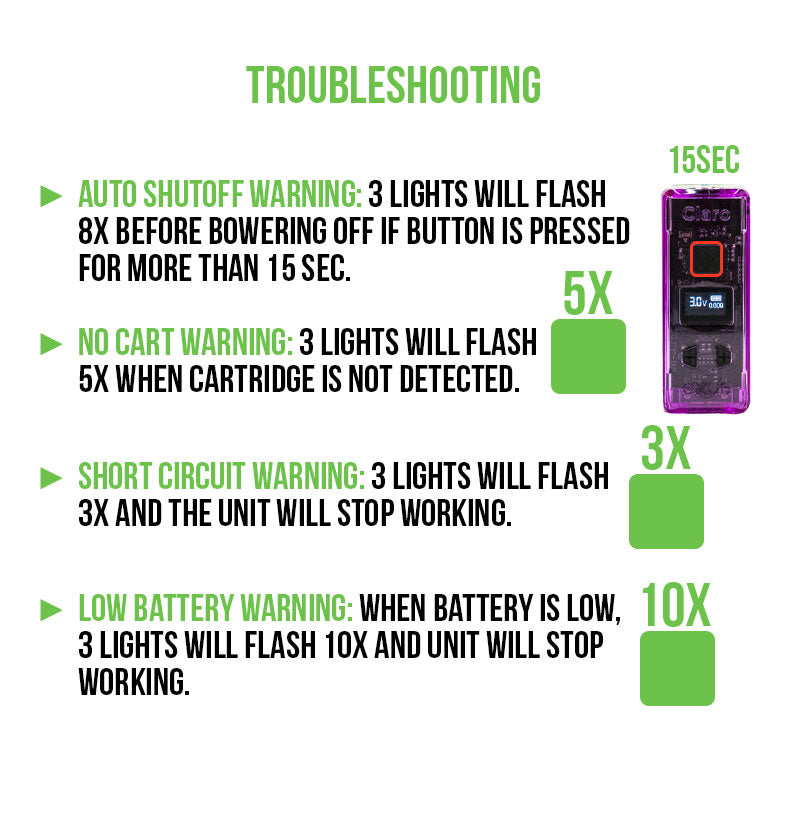
While the Claro does work wonders, there is some key information you should be aware of to make sure you are getting the most from your vaporizer. First off if you hold down the power button for longer than 15 seconds you are going to encounter an error as it triggers an automatic power down. To get back in action simply release the power button, wait a moment, and then get back to using your vaporizer once its timer has reset.
If you ever notice your Claro is not working and flashing 6 lights 8 times in a row, you need to stop immediately as your vaporizer is experiencing a short circuit warning. Cease use of your Claro if you see these signs in order to protect yourself and those around you.
Should your Claro flashes 6 lights 10 times that means that your battery is low and is no cause for alarm, plug your device into a safe USB-C compatible charger 5v or lower.
If you encounter any issues with your cartridge drawing, make sure you check that the threading is properly attached and there’s no gaps between your cart and the body. Additionally if the Claro ever becomes hot to the touch power the unit down and make sure to give it a moment's rest until it becomes cool again.
How to Clean
Thanks to its simple design the Claro is incredibly easy to clean and keep up on unit maintenance. Make sure your Claro is powered down before removing your cartridge and inspecting the threaded connection for any unwanted built up of concentrate. To clean, take a q-tip with a very slight amount of isopropyl alcohol on it and gently rub around the threads until any discharge is removed.
After this take a clean q-tip and make sure to wipe out all extra materials and alcohol that may be left before giving your Claro ample time to dry. Once you’ve done all this your Claro is ready to go again. For general body maintenance we recommend using any safe cleaning clothes to give it a gentle wipe down every so often.
What’s Included:
- (1) Exxus Claro Vaporizer
WARNING:Do not charge with a powerbank of 5V or higher. Do not charge in your car. Do not overcharge the battery. Failure to follow these instructions could result in battery damage and frying of the internal system.


